 Mazda 323F GT
Installing an air-horn signal
Pedestrians … damn who can control these creatures, definitely brainless bunch most of the time. Specially for them bought once a set of horn signals but had no chance to mount them till now.
Had to remove the front bumper so decided to use this chance to install horns as well. Especially after I did a small inspection and found left original Mazda’s signal not working any longer.
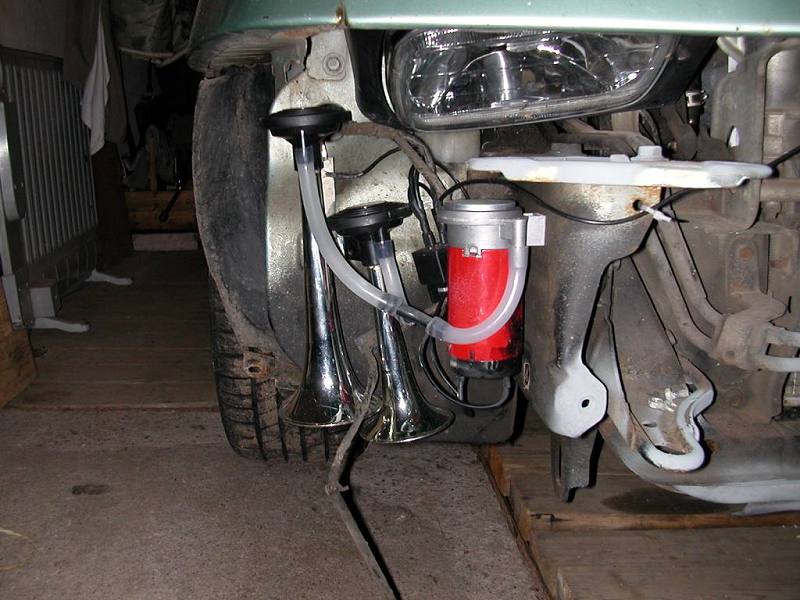
So my horns pack includes two horns, a pipe, a "Y" tube and a compressor, relay and set of wires. I found the installation process is quite straight forward job for the pack of two horns and plenty of space behind the bumper to mount them without doing any additional modifications to the car.
- First of all un-mount one of the original signals. Left or Right it doesn’t matter. I’d say pick up the side closer to the battery – less wires to secure. Original signal mounted on a metal plate with N10 bolt. Unplug the + wire from signal as well.
- Take the horns set and carefully seal all potential problematic places with silicon, before installing it. I’ve sealed the relay, compressor and the horns around the edges to ensure water and dust will not find an easy way into. Let it dry. Also I’d suggest to install a small air filter for the compressor. You can use a small piece of foam-rubber with open holes (the one that often used by bikers for air filters – it’s not preventing air from flowing through it) and secure it around compressor intake using fastener.
- Now it’s time to mount the horns. Usually one is bigger, one smaller. The smaller one can be mounted using the same bolt which is holding the metal plate for original signal. The bigger horn can be mounted to the same place were original signal was mounted. In this case you don’t need to drill any additional holes and not to make any extra support things to hold the horns. Secure the horns in bell down position.
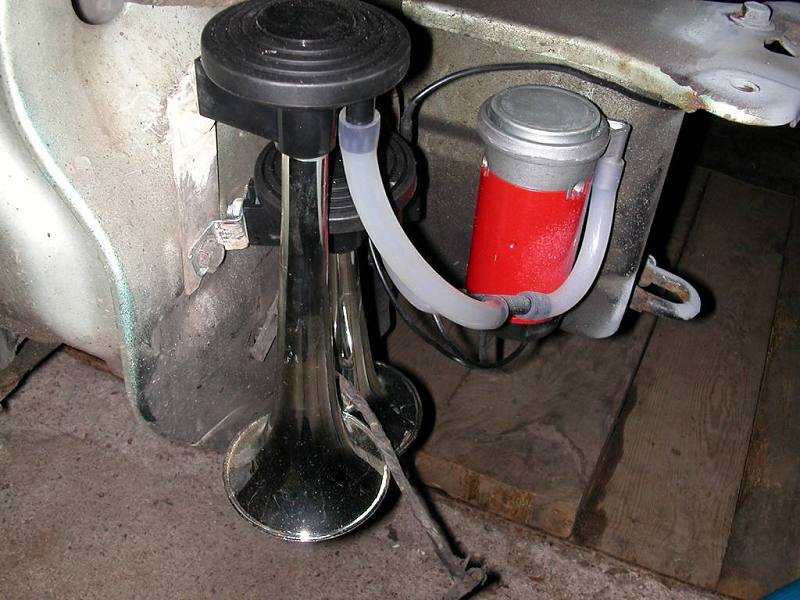
- Now if you look at the side wall of the “longeron” (those two parts of the car’s body which holds the bumper at the front with two bolts each) you can see a small hole there already – can be easily used to mount the compressor.
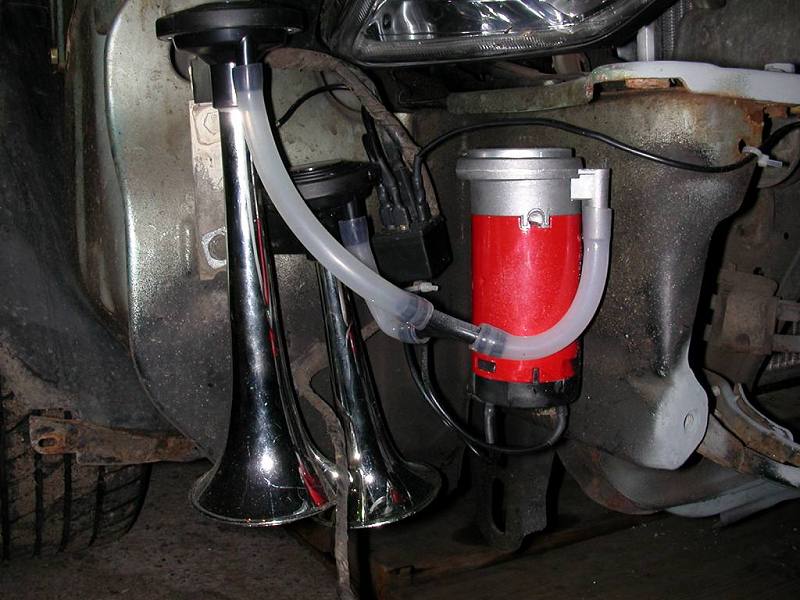
- Cut the pipe and connect all parts through "Y" tube.
- Now time for wires. Ground one will go to compressor, one relay control pin and you can secure it using one of the bolts to the car body.
- Original signal wire should go to the second relay control pin.
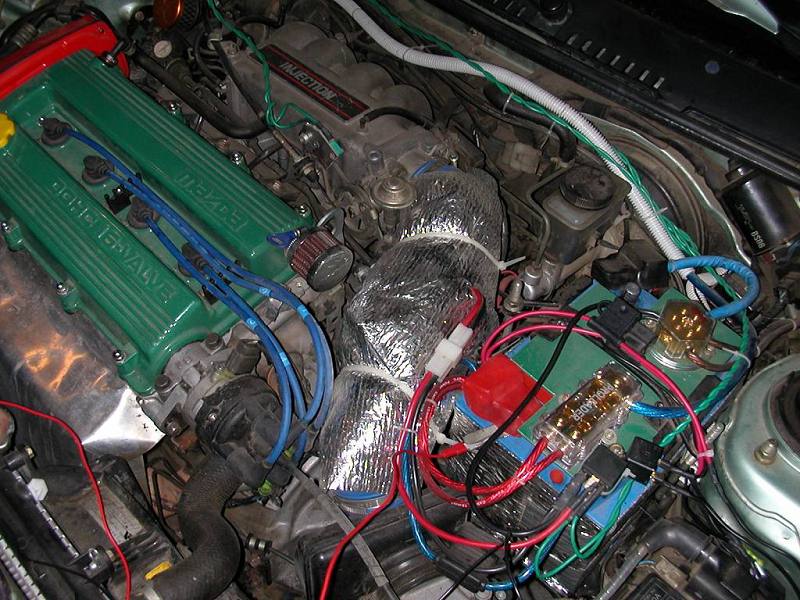
- Compressor + go to the relay switched pin and the second switched pin goes to the car battery. You should carefully secure this wire to ensure it will not be occasionally connected to the ground/car body. Also it should be connected to the car battery through additional (not in a pack) fuse approx 15A (depends on a compressor’s type). The fuse should be installed closer to the battery "+" pin (on a pic below the red wire with black box on a top of the battery).
Now switch on the ignition and press the button.
No longer a buzzling bzzeeeeeee... now it's a mighty PHAAAA-PHAAAAA.