 Mazda 323F GT
Installing a Parktronic
Once
scratched my rear bumper so start thinking about getting Parktronic
device installed.
Got
this one for 130$, spend 1 full day for installation.
Kit
contains a dash with connecting cable, a CPU module, 8 ultrasound detectors
with cables (4 front, 4 rear), a drill for bumper, all necessary mounts, instruction
– all packed in a nice box.
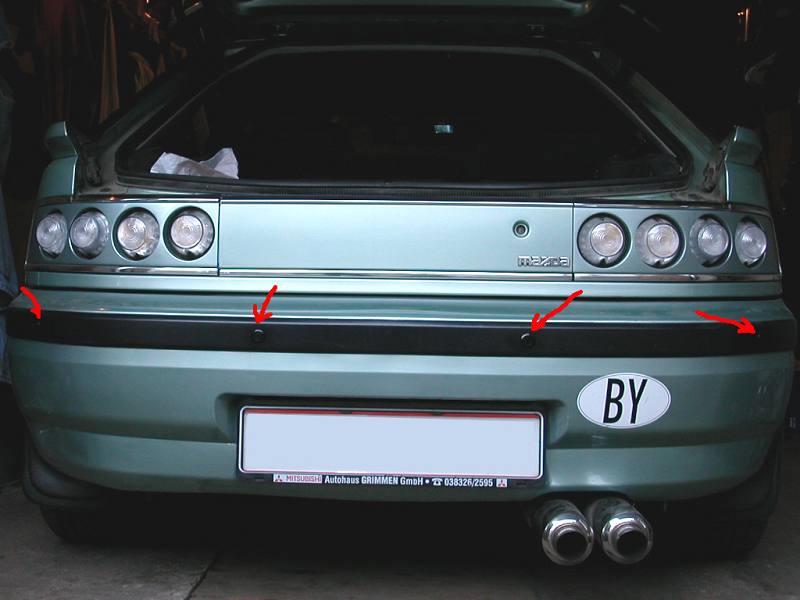
1. Instruction explains in very details
where detectors should be placed on a bumper. You will need to carefully mark
places where you will drill the holes. I’ve placed detectors to the following
places.

2. You will need to drill the
bumper carefully. Watch out for internal bumper’s reinforcement plates. Advising
to start installation from the front – it’s more difficult.
3. Put the cables thorough the
holes and lock the detectors in them. I’ve additionally fixed them using silicone
4. You probably wish to paint
the front detectors to match the body colour
5. Install the cables inside the
bonnet and put them through firewall
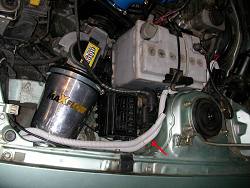
6. In my Parktronic
installation of the CPU suppose to be done in a boot and all front cables
and dash cable should go to the boot as well. In this case pass all cables
under the carpet to the boot. It’s quite a lot of work to carefully place
them and a lot of wires.
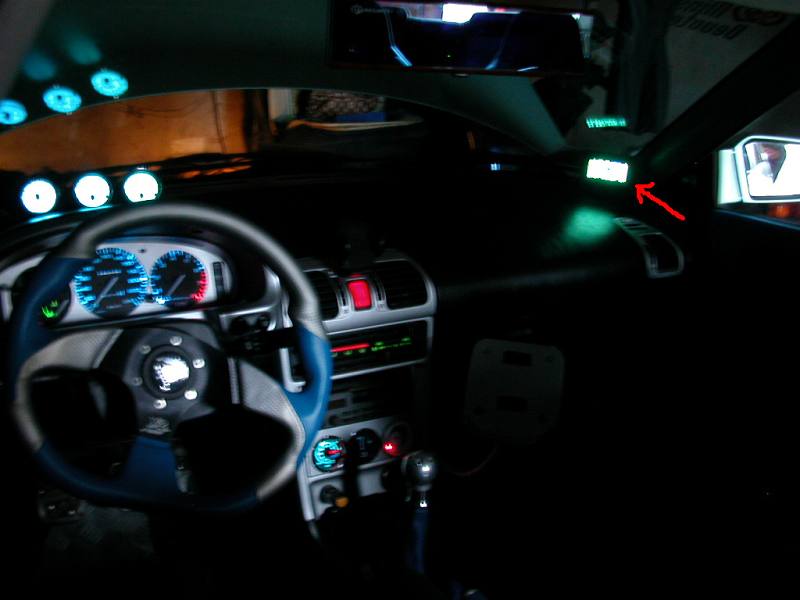
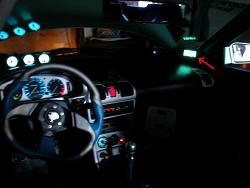
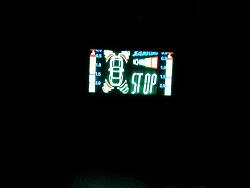
7. Find the place where your Parktronic dash would be located. I’ve installed
it on a right hand side pointing to the drivers seat
so I can easily
read it and at the same time it’s
not annoying me with the shiny messages. Install the cable as well.
8. Install the power cable. I’ve
connected it to the lighter so device switching on same time with ignition.
Possible will add an external switch to power it off if it will annoy me.
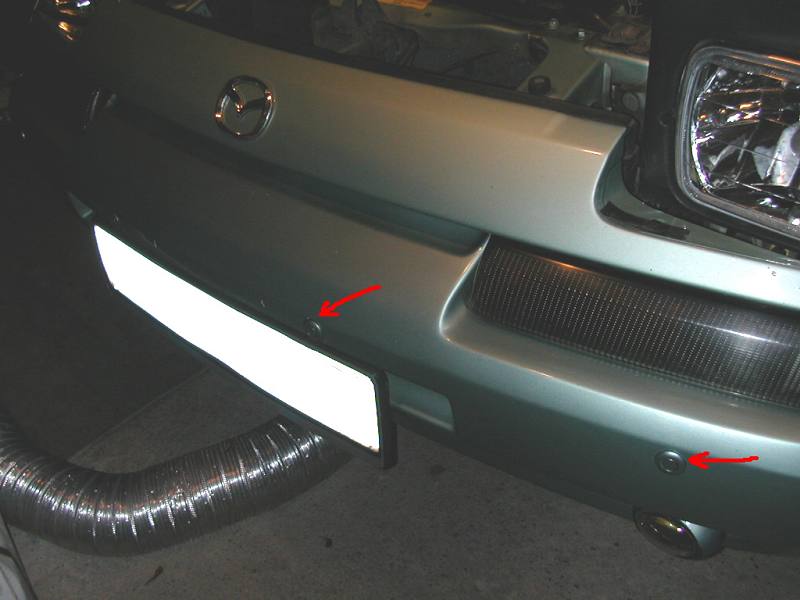
9. Find the place for rear detectors.
I thought the ideal place is on that black molding stripe, and no need to
paint the detectors.
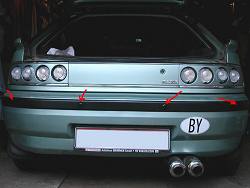
10. Stick the cables through back
wall – there suppose to be few rubber plugs for optional wires.
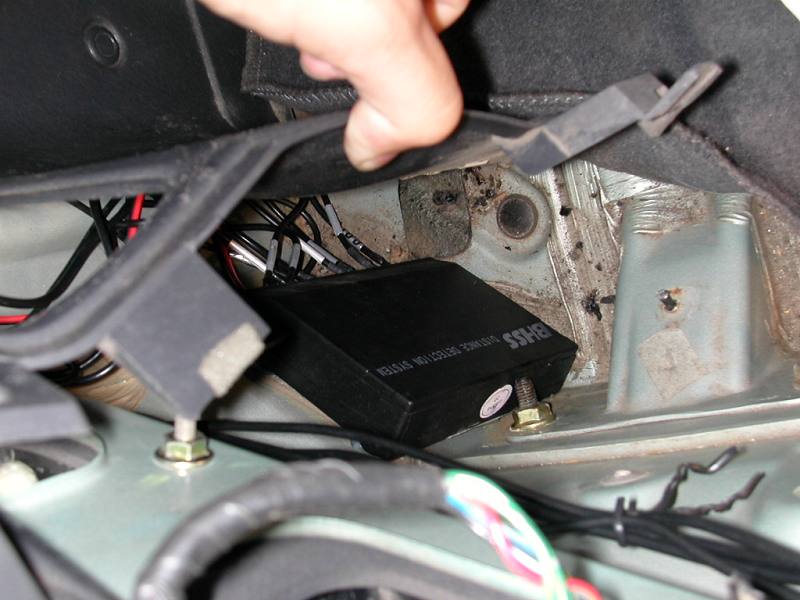
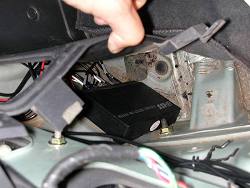
11. Find the place where you can
install the CPU unit. I found one under the boot plastic panels on a left
hand side just below the left rear light. Mount it using silicone and place
all wires around it and connect them, using codes on a wires and messages
on a CPU module.
12. Switch on the ignition and
enjoy the panic of the device that will not know about your garage, surrounded
by walls everywhere and pointlessly will begging you to stop :)
Kira
aka Aprilia, 2005